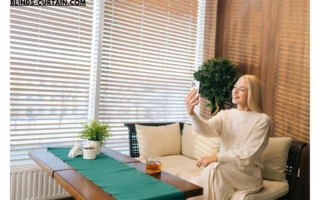
DIY projects have become a cornerstone of modern home improvement, allowing individuals to add a personal touch to their living spaces. One particularly rewarding endeavor is crafting your own blinds, transforming an everyday necessity into a creative masterpiece. In this guide, we’ll explore the step-by-step process of making DIY blinds, from selecting materials to hanging the final product.
Table of Contents
Benefits of Make My Blinds
Cost-effectiveness
Traditional blinds can be expensive, especially if you have large or uniquely shaped windows. Crafting your own blinds allows you to control costs while still achieving a high-quality result. You’ll find that the materials needed for DIY blinds are often more affordable than pre-made alternatives.
Customization Options
One size does not fit all when it comes to window treatments. DIY blinds give you the freedom to choose the materials, colors, and patterns that perfectly match your decor. Whether you prefer a rustic, farmhouse look or a sleek, modern design, the possibilities are endless.
Sense of Accomplishment
Completing a DIY project provides a sense of accomplishment that store-bought items can’t replicate. The pride in knowing you created a functional and aesthetically pleasing element for your home is unparalleled.
Materials Needed
Before diving into the DIY make my blinds process, gather the following materials:
High-quality wood or faux wood for the blinds
Measuring tape
Saw for cutting
Sandpaper for smoothing edges
Paint or stain for finishing
Brushes and sponges for application
To ensure the success of your project, source materials from reputable suppliers or local hardware stores.
Step-by-Step Guide: Crafting Your Blinds
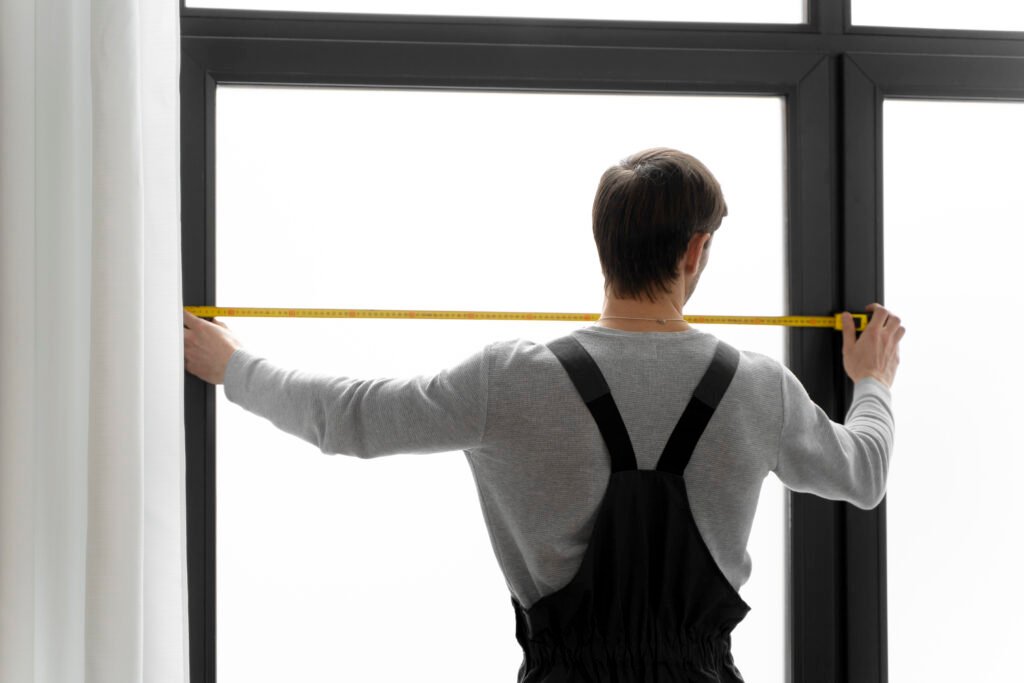
Measuring Your Windows Accurately
The first step in creating blinds that fit perfectly is accurate measurements. Use a reliable measuring tape to determine the width and height of each window. Take note of any obstructions or unique features that may affect the blind’s installation.
Choosing the Right Type of Materials
Selecting the right materials is crucial for the functionality and appearance of your blinds. Consider the level of privacy and light control you desire when choosing between wood and faux wood options. Faux wood is often more resistant to moisture, making it suitable for kitchens and bathrooms.
Cutting and Preparing the Blinds
Once you have your materials, carefully measure and cut each slat to the desired length to make my blinds. Sand the edges to ensure a smooth finish. If using a faux wood material, be mindful of the manufacturer’s guidelines for cutting.
Assembling the Blinds
Assemble the blinds according to your chosen design. Follow any instructions that come with the materials, and ensure the slats are evenly spaced for a professional look. Use durable cords or tapes for functionality and safety.
Painting and Decorating Options
Exploring Different Paint and Stain Options
The finishing touches on make my blinds can elevate their appearance. Experiment with different paint colors or wood stains to achieve the desired aesthetic. Consider matching make my blinds to existing furniture or creating a contrasting focal point in the room.
Adding Decorative Elements to Personalize Blinds
For a truly unique touch, consider adding decorative elements to your blinds. This could include stenciled patterns, decals, or even hand-painted designs. Let your creativity shine through in every detail.
Tips for Hanging Your DIY Blinds
Proper Installation Techniques
Ensure your blinds are hung securely by following proper installation techniques. Use a level to align the brackets accurately, and double-check that the blinds operate smoothly before finishing the installation.
Tools Required for Hanging Blinds
Gather the necessary tools for hanging your blinds, including a drill, screws, and a screwdriver. If your windows are in hard-to-reach areas, a ladder may also be required for safe installation.
Common Mistakes to Avoid
Avoid common pitfalls such as misalignment or uneven hanging. Taking the time to measure accurately and double-checking your work can prevent frustration down the line for make my blinds .
Maintenance and Cleaning
Maintaining your DIY blinds is simple and ensures their longevity. Regular dusting with a soft cloth or gentle vacuuming keeps them looking fresh. For stains or more extensive cleaning, follow the care instructions for the specific materials used.
Showcasing Your Creativity
Sharing DIY Blind Projects on Social Media
Join the vibrant online DIY community by sharing your completed projects on social media. Platforms like Instagram and Pinterest are perfect for showcasing your creativity and inspiring others to embark on their DIY journeys.
Also Read: Mustard Curtains
Connecting with the DIY Community
Engage with fellow DIY enthusiasts by joining forums or local meet-up groups. Share your experiences, seek advice, and learn from others who share your passion for crafting.
DIY Blinds for Different Rooms
Tailoring Blinds to Match the Style of Each Room
Consider the unique requirements of each room when crafting make my blinds. For bedrooms, opt for blackout materials to ensure a good night’s sleep. In living areas, choose materials that complement existing decor for make my blinds .
Special Considerations for Kitchen and Bathroom Blinds
Kitchens and bathrooms have specific challenges, including moisture and temperature fluctuations. Faux wood blinds are an excellent choice for these areas, as they resist warping and damage from humidity.
Environmental Benefits of DIY Blinds
Reducing Waste and Environmental Impact
By make my blinds, you contribute to reducing waste and the environmental impact associated with mass-produced items. Choose sustainable materials for an even more Eco-friendly approach.
Using Sustainable Materials
Explore sustainable options for your DIY blinds, such as reclaimed wood or materials with Eco-friendly certifications. This not only benefits the environment but also adds a unique touch to your home.
Stories of DIY Success
Real-Life Experiences of Individuals Who Made Their Own Blinds
Discover inspiring stories of individuals who successfully crafted their own blinds. From overcoming challenges to achieving stunning results, these narratives provide motivation for your own DIY journey.
Inspiration for Readers
Let these stories inspire you to embark on your DIY blind-making adventure. The joy and satisfaction of creating something with your own hands are unparalleled.
Common Challenges and How to Overcome Them
Dealing with Measurement Errors
Mistakes happen, but overcoming them is part of the DIY process. If you encounter measurement errors, reassess and make necessary adjustments before proceeding.
Troubleshooting Common DIY Blind Issues
Address common issues such as slats not aligning or cords getting tangled. Troubleshooting guides and online resources can provide solutions to keep your make my blinds functioning smoothly.
DIY Blinds as Gifts
Creating Personalized Blinds as Thoughtful Presents
Consider making DIY blinds as unique and personalized gifts for friends and family. Choose colors and designs that reflect the recipient’s taste, creating a memorable and meaningful present.
Gift Ideas for Different Occasions
Whether it’s a housewarming, wedding, or birthday, DIY blinds make for thoughtful and practical gifts. Package them creatively for an added personal touch.
The Future of DIY Home Decor
Trends in DIY Projects
Explore current trends in DIY home decor, from sustainable practices to minimalist designs. Stay informed and adapt your projects to reflect evolving styles.
Embracing Creativity in Home Design
The future of DIY home decor lies in embracing creativity and individuality. Use DIY projects as a means of self-expression and creating a home that truly reflects your personality.
Conclusion
In conclusion, embarking on the journey of making your own blinds is a fulfilling and creative endeavor. The benefits of cost-effectiveness, customization, and a sense of accomplishment make it a worthwhile project for any homeowner. By following this guide, you’ll not only enhance your living space but also develop valuable DIY skills.
FAQs
Are DIY blinds difficult to make my blinds beginners?
Crafting your own blinds can be beginner-friendly with proper guidance. Start with simpler designs and gradually progress to more complex projects.
Can I use recycled materials for DIY blinds?
Absolutely! Using recycled or reclaimed materials adds an Eco-friendly touch to your blinds. Ensure they meet the necessary structural requirements.
How long does it take to make DIY blinds?
The time required depends on the complexity of the design and your experience level. Plan accordingly, and enjoy the process at your own pace.
What are the best tools for hanging DIY blinds?
Basic tools like a drill, screws, and a screwdriver are essential. A level ensures proper installation, and a ladder may be needed for higher windows.
Can I paint or decorate my blinds after hanging them?
Yes, you can! Adding finishing touches to your blinds after hanging them is a great way to personalize your home decor further.